First-run setup
The first time you open TickForge, a five-step setup wizard helps you choose your language, connect to Interactive Brokers, and load a starting workspace. You can re-run it any time from Help → Setup Wizard….
Step 1 — Choose your language
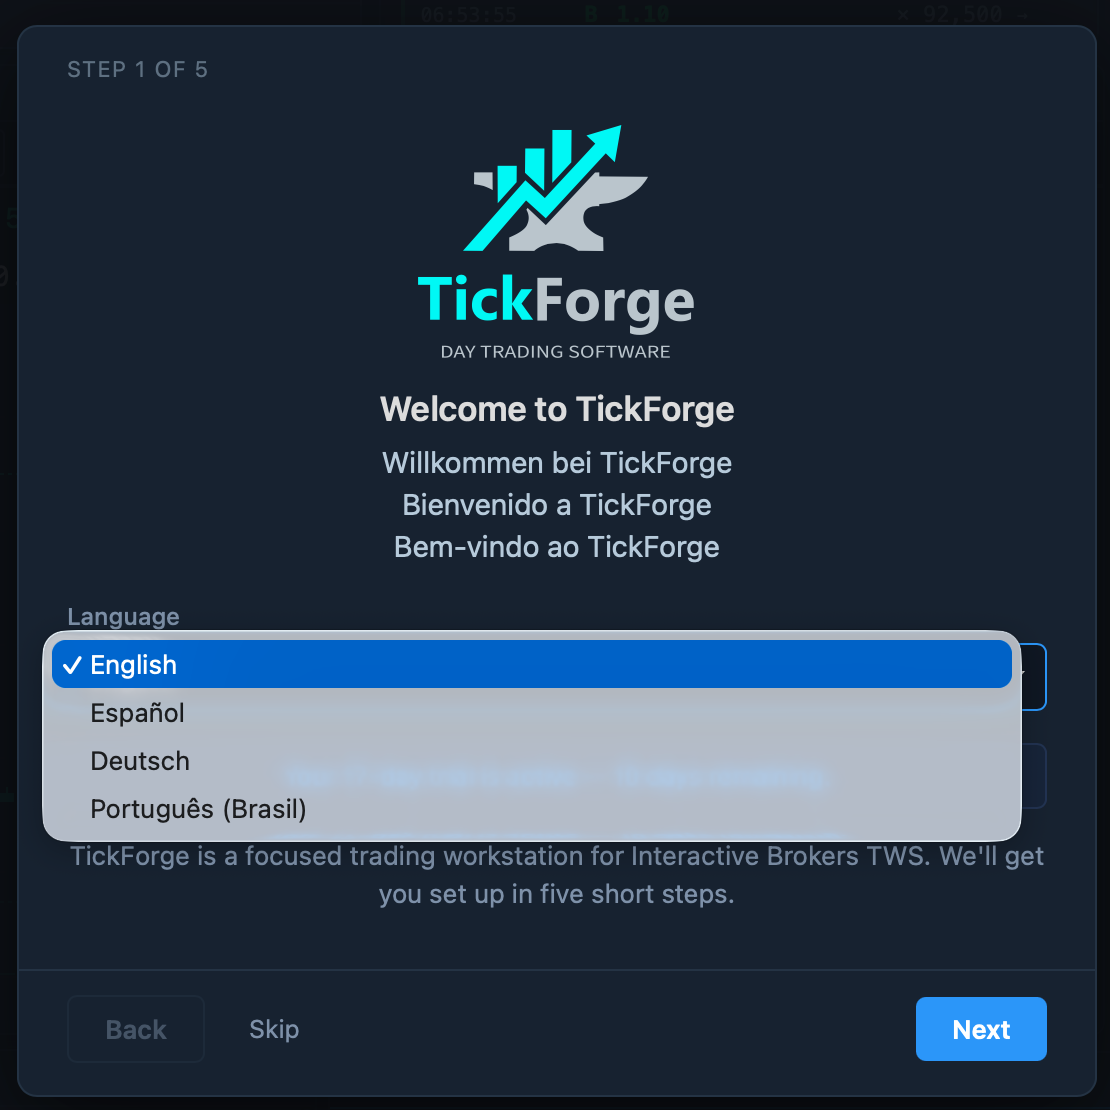
TickForge is available in English, Deutsch, Español, and Português (Brasil). Pick your language from the dropdown and the interface switches right away. If you move away from English, TickForge may ask you to restart so that every menu and window title picks up the new language. You can change it later under Settings → Display.
Step 2 — Set your timezone
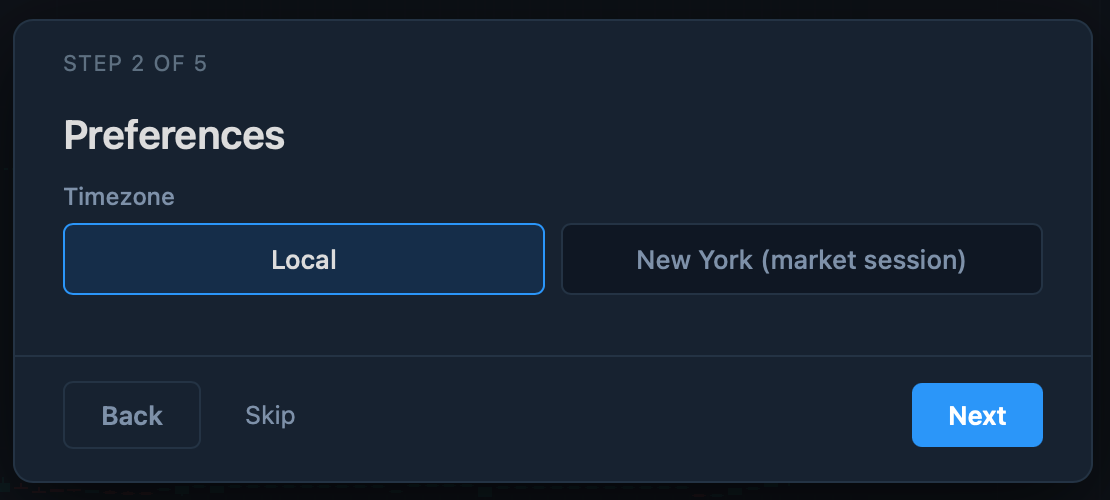
Choose the timezone used for chart time axes and crosshair labels:
- Local — your computer's clock.
- New York (market session) — US/Eastern, which keeps bars aligned with the regular US trading session.
This only changes how times are displayed, not your data. You can switch it later under Settings → Display → Chart timezone (which also offers UTC).
Step 3 — Connect to TWS
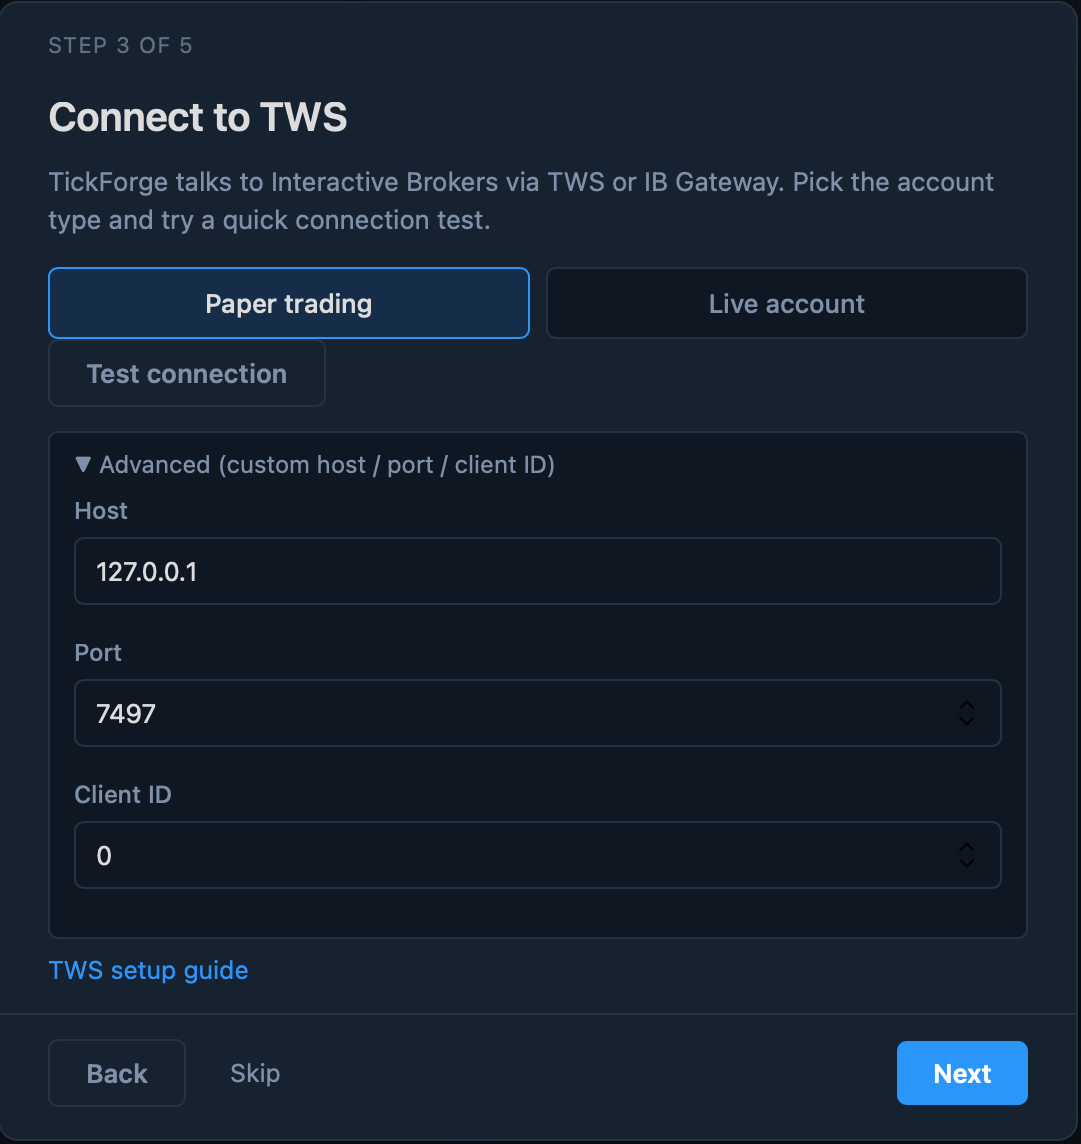
TickForge connects to Interactive Brokers through TWS or IB Gateway running on the same machine. Choose your account type:
- Paper trading — connects on port 7497 by default.
- Live account — connects on port 7496 by default.
Click Test connection to confirm TickForge can reach TWS. A green ✓ Connected to TWS means you're ready; a red message usually means TWS or IB Gateway isn't running, or the API isn't enabled.
Need a non-default setup? Expand Advanced to set a custom Host, Port, and Client ID. For enabling the IBKR API and choosing the right port, see Installation.
TickForge never asks for your broker password. You stay signed in to Interactive Brokers inside TWS; TickForge simply talks to that already-authenticated session.
Step 4 — Choose a workspace
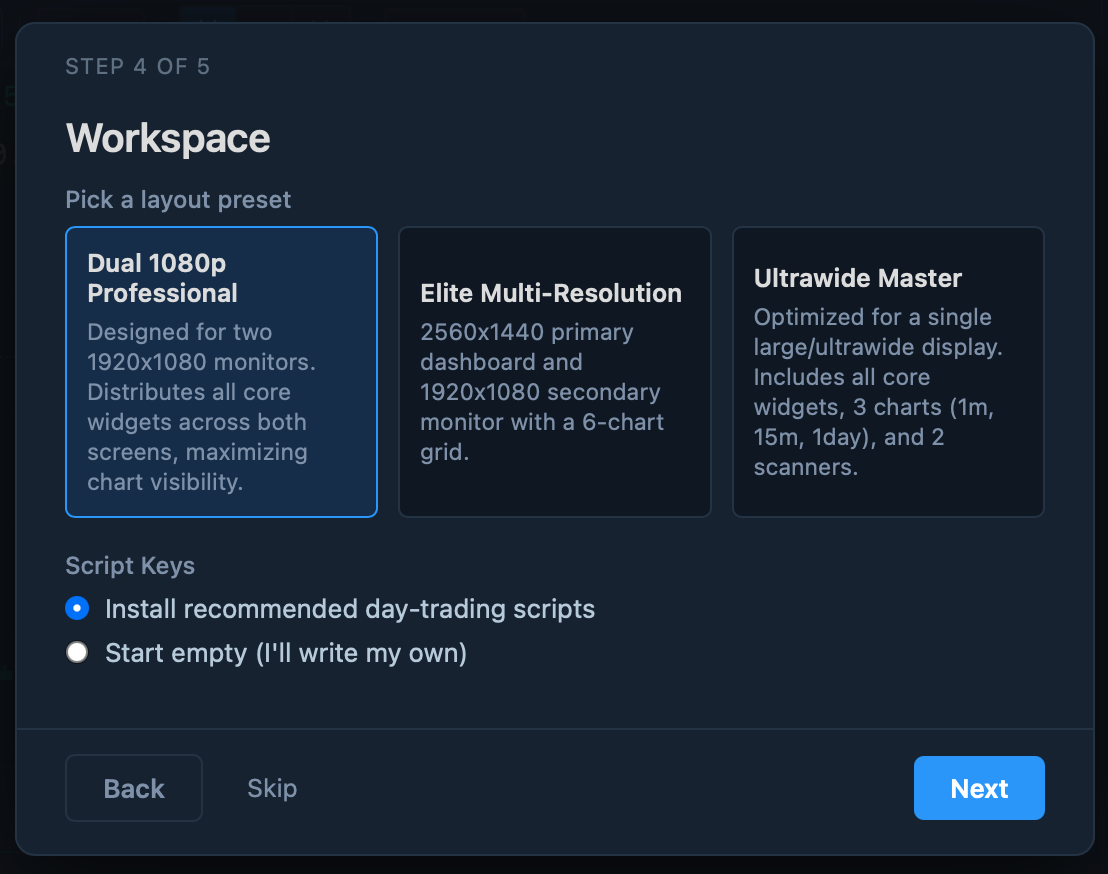
Pick a layout preset to start from — each arranges charts, a watchlist, a scanner, and trading widgets for a different style of work. You can rearrange everything afterwards and save your own layouts.
Under Script Keys, choose whether to:
- Install the recommended day-trading scripts — a handful of ready-made one-key orders, or
- Start empty and write your own later.
Step 5 — Quick tips
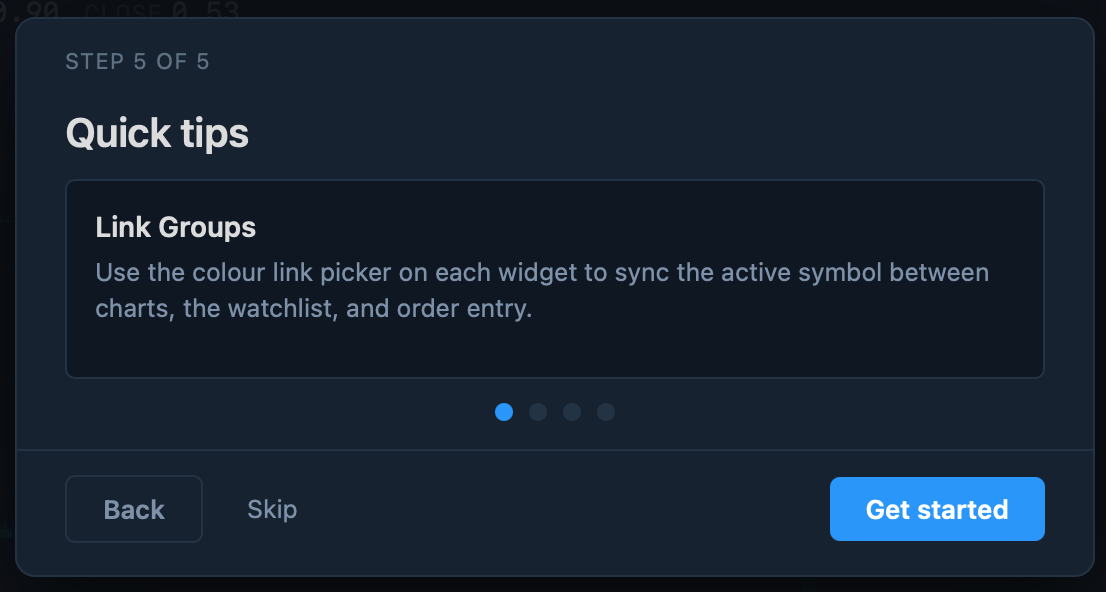
The final step is a short tour of four features worth knowing on day one:
- Link groups — use the colored link picker on a widget's title bar to sync the active symbol across charts, the watchlist, and order entry (more in The TickForge window).
- Hot keys — Buy, Sell, Flatten, and Cancel are wired to Alt+B / Alt+S / Alt+F / Alt+X by default.
- Drawing tools — draw trendlines, Fibonacci levels, and price labels right on a chart; they stay with the chart.
- Layouts — save an arrangement with File → Save Layout As… and switch between layouts any time.
Click Get started to open your workspace.
Where to next
- The TickForge window — the workspace, widgets, and link groups.